Hi Hong Wei,
welcome back. All the steps you describe are directly supported by the ZED SDK, so let me answer each question in order.
1. What is the simplest way to retrieve the raw point cloud data from the ZED SDK?
The point cloud is a “measure” that you retrieve after each successful grab() call by using retrieveMeasure() with MEASURE::XYZRGBA (or XYZ if you do not need color). This gives you an organized point cloud aligned with the left image, one 3D point per pixel. You can find all the details here:
and a minimal tutorial here:
2. How can I save the raw point cloud as a PLY file?
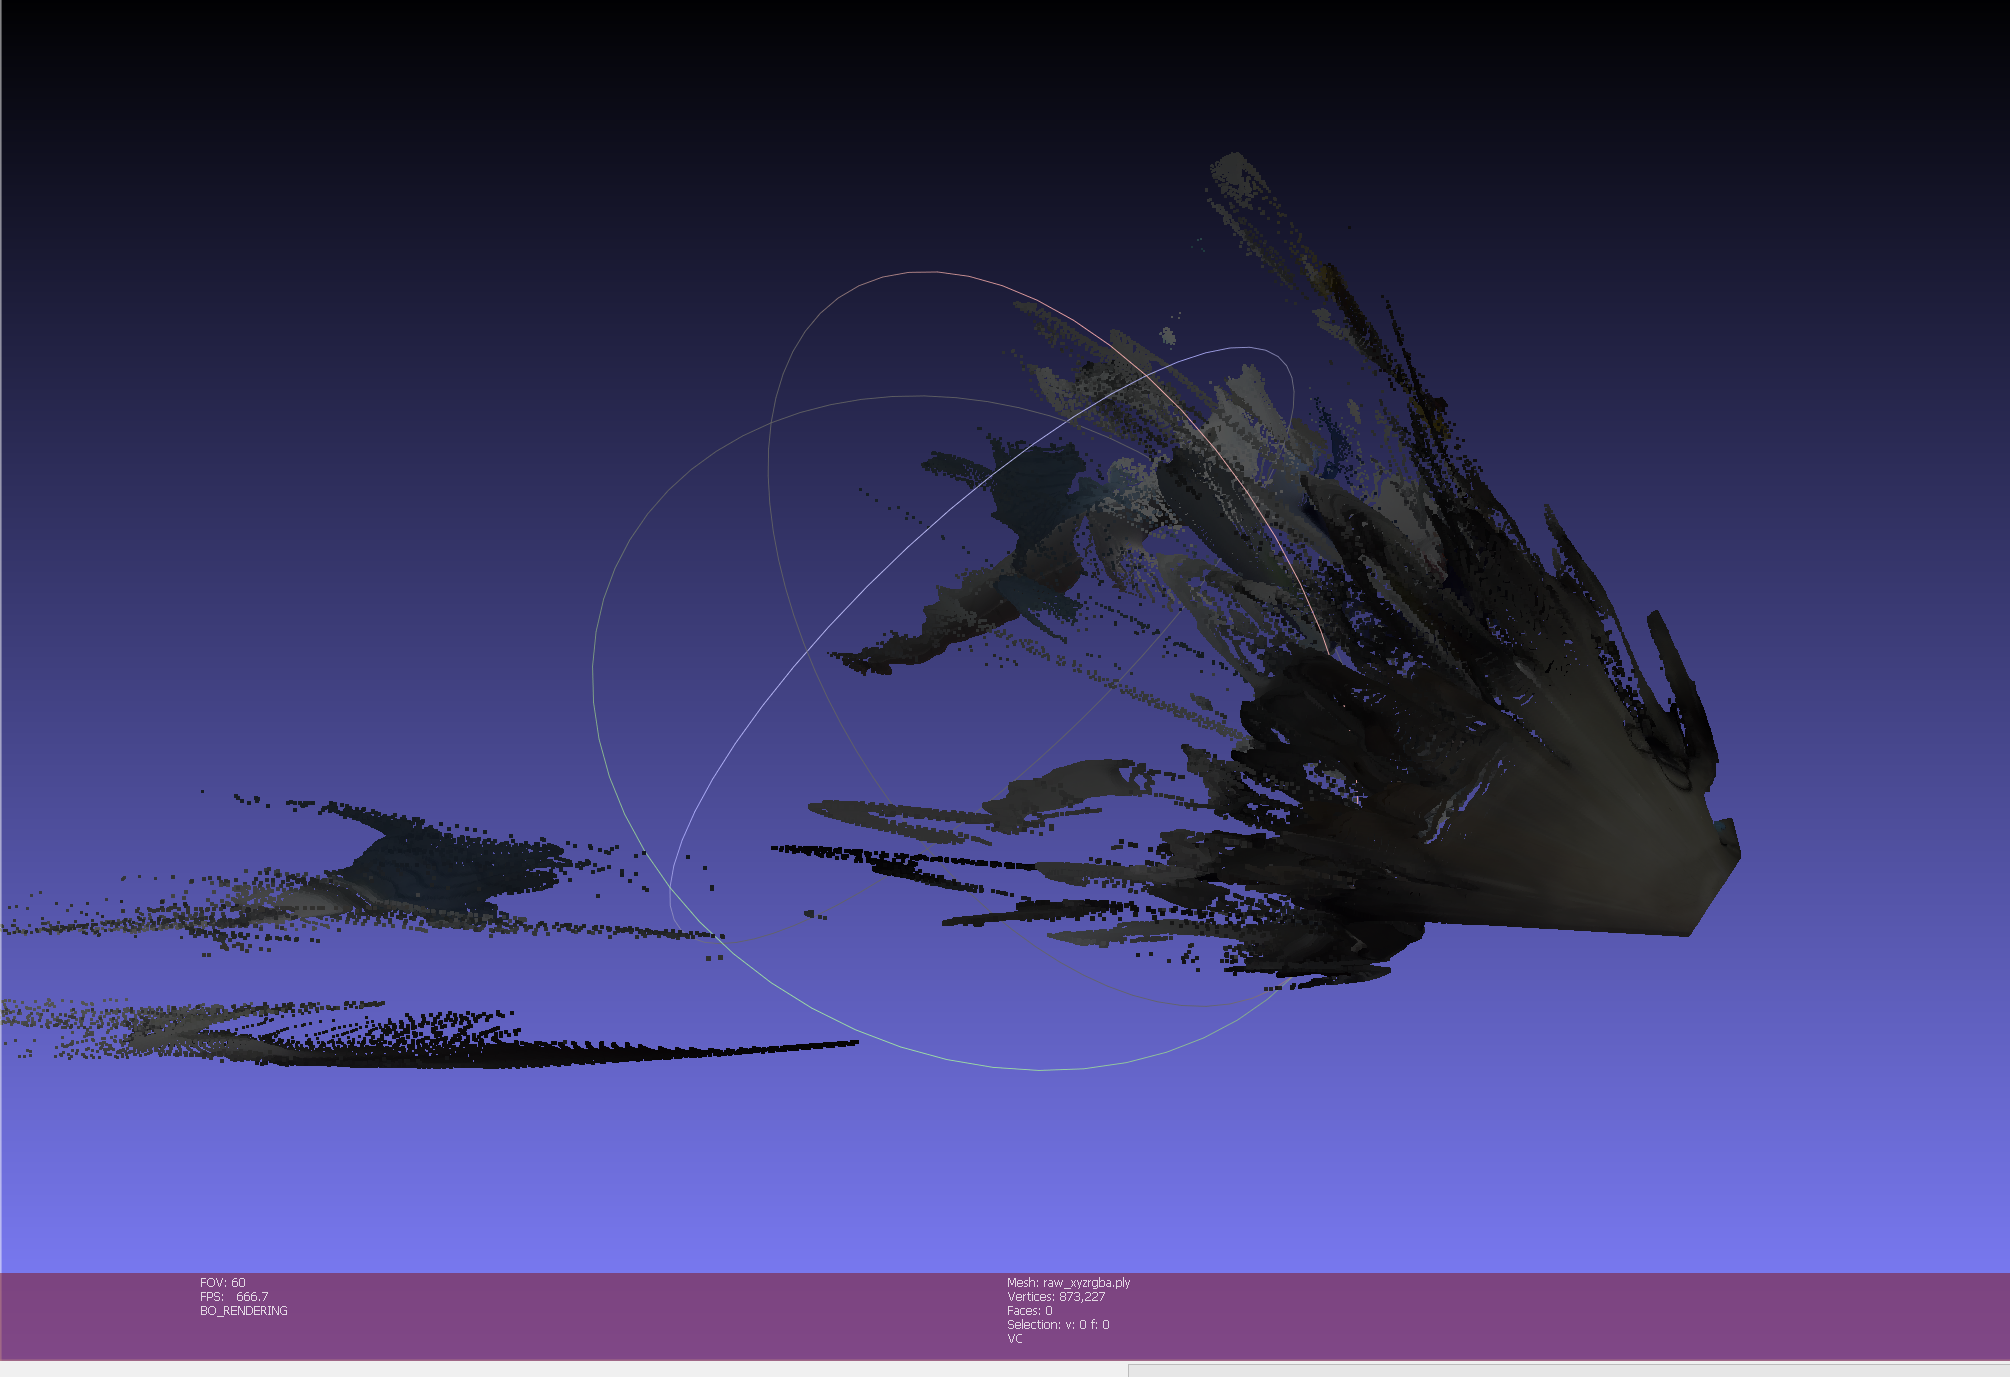
The sl::Mat object holding the point cloud can be saved directly by calling its write() function; the output format is selected by the file extension (.ply, .pcd, .vtk, .xyz). For example, in Python:
python
point_cloud = sl.Mat()
if zed.grab() == sl.ERROR_CODE.SUCCESS:
    zed.retrieve_measure(point_cloud, sl.MEASURE.XYZRGBA)
    point_cloud.write("point_cloud.ply")
The “Depth Sensing” sample on our GitHub repository demonstrates exactly this; press the s key while it runs to save the current point cloud:
3. How can I enable the Spatial Mapping module and save the fused spatial map as a PLY file?
You need to enable Positional Tracking first, then Spatial Mapping. Once the area is scanned, call extractWholeSpatialMap() and save the result with the save() function of the Mesh or FusedPointCloud object, selecting MESH_FILE_FORMAT::PLY (ASCII) or PLY_BIN (binary). The full workflow is documented here:
4. For my robot mapping use case, should I use FUSED_POINT_CLOUD instead of MESH if I want to overlay sensor data later?
Yes, I recommend SPATIAL_MAP_TYPE::FUSED_POINT_CLOUD for your use case. Since your gas sensor data will be point-based measurements associated with camera poses, a fused point cloud is the most natural representation to augment; you can simply append your own colored points to it, or attach scalar values to nearby map points. A mesh is preferable when you need surfaces (collision, occlusion, rendering), which does not seem to be your goal. Note that both map types are expressed in the same World Frame used by the Positional Tracking module, so the poses you record will align with the map without any extra transformation.
5. Is there a simple Python or C++ example that shows how to save both the camera trajectory and the fused spatial map?
The “Spatial Mapping” sample (available in both C++ and Python) shows how to enable mapping and save the resulting map:
and this tutorial walks through the code step by step:
There is no dedicated “save trajectory” function, but it is straightforward to add: inside the grab loop, call getPosition() with REFERENCE_FRAME::WORLD and append the timestamp, translation, and orientation quaternion of each sl::Pose to a CSV or TUM-format text file. This gives you a trajectory that is perfectly synchronized with the point clouds and the fused map, which is exactly what you need for the sensor overlay step.
Once these two steps work, the overlay part of your project becomes a simple matter of transforming each gas measurement into the World Frame using the pose recorded at its timestamp.